Using car wax is a crucial step in maintaining the appearance of your vehicle, as it provides a protective layer that enhances shine and protects against environmental pollutants. Proper application ensures that you get the best results, with a glossy finish and long-lasting protection. Here is a step-by-step guide on how to properly apply car wax for a perfect shine.
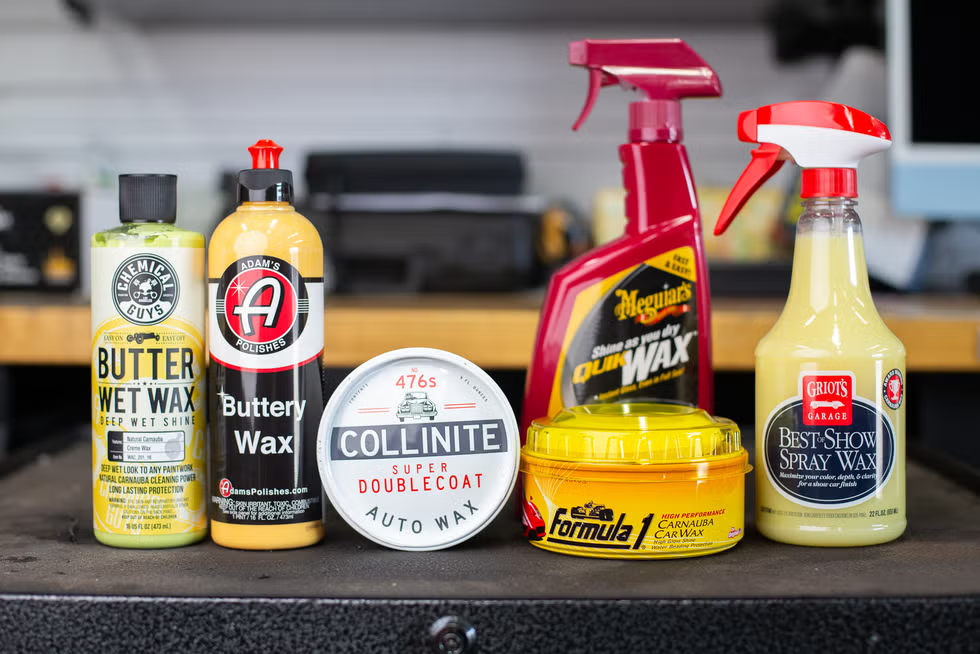
1. Choose the Right Wax
Before you begin, choose a high-quality wax that is appropriate for the paint type and desired finish of your vehicle. There are several types of wax to choose from, including carnauba wax, synthetic wax, and blended formula wax. Carnauba wax provides a deep, warm shine, while synthetic wax provides long-lasting protection. Hybrid formulas combine the best of both worlds. Consider your needs and preferences to choose the best product for your car.
2. Wash and Dry the Car
Start with a clean surface. Use a pH-balanced car wash soap to thoroughly wash your car to remove dirt and contaminants. Use microfiber cleaning gloves and rinse the car with plenty of water. Dry the car thoroughly after cleaning with a clean microfiber towel to prevent water spots. Make sure there is no paint residue left behind before applying wax.
3. Check the Paint
Before waxing, check the condition of the paint. Look for scratches, swirls, or oxidation. If you notice any imperfections, consider using a clay bar or polish to correct them before applying wax. A clay bar can remove embedded contaminants, while a polish can help remove minor scratches and restore the clarity of your paint.
4. Apply Wax
Depending on the type of wax you are using, there are several ways to apply it:
- Liquid Wax: Shake bottle well before using. Apply a small amount of wax to a foam applicator pad or microfiber towel. Work the wax into the paint using small, circular motions. Apply the wax evenly, focusing on one section at a time.
- Wax: Use a clean applicator pad to apply a small amount of wax. Use a circular motion to apply the wax thinly and evenly to the paint. Do not over-apply, as a thin layer is sufficient to provide protection and shine.
- Spray Wax: Shake bottle well before use. Spray a light mist of wax onto a clean, dry surface. Use a microfiber towel to evenly distribute and buff out the wax.
5. Let the Wax Haze
Most waxes require misting before buffing. Follow the manufacturer’s instructions for recommended drying times. Generally, this time is about 5-10 minutes. The wax will become cloudy as it dries, which is a sign that it is ready to be removed.
6. Buff Off the Wax
Using a clean, dry microfiber towel, gently wipe away the dry wax using circular motions. Start with low pressure and gradually increase pressure as needed. Turn the towel over frequently to prevent old wax from spreading everywhere. Continue polishing until the surface is smooth and shiny.
7. Check the Surface Finish
After polishing, inspect the surface to make sure there are no wax residues or streaks left behind. If you notice any uneven application areas, you can reapply a small amount of wax to those areas and polish again.
8. Maintain Shine
To maintain the shine and protection of the wax, wash your car regularly with a mild car wash soap. Avoid using harsh detergents or abrasives that can remove wax. If desired, you can apply a quick detailer or spray wax between full wax applications to enhance shine and extend protection.
9. Store Wax Properly
Proper storage of wax is crucial to maintaining its effectiveness. Store wax products in a cool, dry place away from direct sunlight and extreme temperatures. Make sure the container is tightly sealed to prevent contamination and drying out.
Finally
Proper application of car wax is the key to achieving a perfect, long-lasting shine. By following these steps (choosing the right wax, preparing the paint, applying the wax and polishing, and maintaining the finish), you can ensure that your vehicle stays in top shape and is protected from the elements. Regular waxing not only improves the appearance of your car, it also helps protect the paint, keeping your car looking new for years to come.