Making your own goods gives you a special joy in the auto maintenance industry. It not only saves you money, but it also lets you customize the ingredients to fit your requirements. Homemade car wax is one such product that auto aficionados vouch for. This post will discuss the advantages of doing your own auto waxing and provide you a straightforward yet efficient formula for making your own car wax at home.
Advantages of DIY Car Wax: Economicality
Commercial vehicle waxes are frequently expensive, particularly ones with high-end components or well-known brands. You can save a lot of money without sacrificing quality by producing your own wax.
ecologically favorable
Synthetic compounds used in many commercial automobile waxes have the potential to be environmentally hazardous. In addition to lowering your carbon footprint, utilizing natural components in your homemade wax ensures that no harsh chemicals are being washed into the ecosystem.
Personalization
You can experiment with different substances to get the ideal combination for your car’s requirements when using homemade auto wax. You can choose if you want more UV protection or a light smell.
Components of Handmade Car Wax
Only a few basic ingredients—the majority of which you probably already have in your pantry—are needed to make your own vehicle wax.
base of natural wax
Naturally derived wax base is the cornerstone of any quality auto wax. Popular choices with distinct qualities include soy wax, carnauba wax, and beeswax.
essential oils
Consider adding essential oils like lavender, lemon, or peppermint to your wax to give it extra benefits and scent. In addition to leaving your automobile with a pleasant scent, they may have antioxidant or antibacterial qualities.
Additives that are optional
You can opt to enhance your wax by adding more ingredients, based on your preferences. Typical additions are food coloring for a unique touch, coconut oil for more luster, or clay for greater durability.
A Comprehensive Guide on Producing DIY Car Wax
Let’s go over how to make your own homemade vehicle wax now that you have all of your supplies ready.
Melting the foundational wax
First, in a double boiler set over low heat, melt your preferred wax base. Stirring periodically will help to guarantee uniform melting and avoid burning.
Including the essential oils
After the wax has melted fully, take it off the heat source and mix with the essential oils of your choice. To achieve the desired level of aroma intensity, try using 10–20 drops of essential oil for every cup of melted wax.
Including optional supplements
This is the time to incorporate any optional ingredients, like clay or coconut oil, if you have chosen to use them. To make sure they are dispersed equally, give them a good stir.
combining and letting cool
After combining all the components, transfer the wax into a sanitized container and let it cool fully. Depending on the temperature, this could take several hours or even overnight.
Advice on Using DIY Car Wax
preparation of the surface
The outside surface of your car must be completely cleaned and dried before applying your homemade wax. This will guarantee the wax’s greatest adherence and durability.
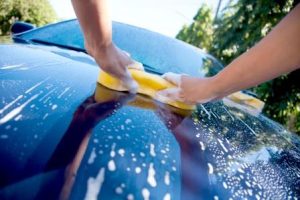
Application methods
Apply a thin, even layer of wax to your car’s surface using tiny, circular strokes and a clean, soft cloth or applicator pad. To guarantee complete coverage, make sure you work on one section at a time.
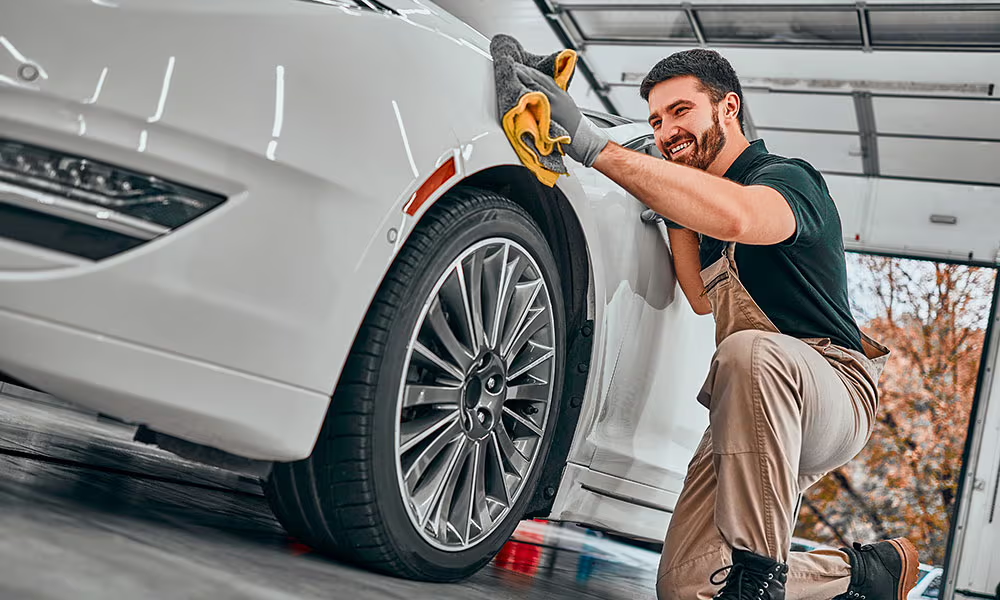
Shine buffing
After the wax has become somewhat translucent, polish the surface to a high sheen with a fresh microfiber cloth. Once more, use light pressure while working in tiny, circular motions to get the required gloss.
Comparing the Costs of Commercial Car Waxes
Making homemade vehicle wax is generally far less expensive than buying store-bought products, especially when you take into account the amount of wax that can be generated in a single batch.
Comparison of performance
Although homemade vehicle wax might not include as many chemicals as commercial waxes, many do-it-yourself aficionados contend that, when applied properly, it offers comparable protection and shine.
effects on the environment
The fact that homemade vehicle wax has a minimum environmental impact is perhaps its greatest benefit. You may wax your car with confidence knowing that you’re not adding to pollution or chemical runoff by utilizing natural, biodegradable components.
Safety Measures
Managing heated wax
When melting wax, proceed with caution as it can reach extremely high temperatures and burn if not handled properly. To safely melt wax, always use a double boiler or other indirect heating method.
Airflow
When working with wax inside, make sure there is enough ventilation to avoid breathing in fumes. To protect yourself, try to work in a location with good ventilation or put on a respirator mask.
Keepsake
Keep your homemade auto wax out of direct sunlight and extremely hot or cold conditions. Over time, consistency and efficacy can be sustained with the aid of proper storage.
In summary
Without compromising on performance or quality, homemade vehicle wax provides a reasonably priced and eco-friendly substitute for store-bought brands. You may minimize your environmental effect and obtain a showroom-worthy shine by following a simple recipe and taking the necessary safeguards.
Answers to Common Questions (FAQs)
How long can homemade auto wax be stored?
If stored correctly in a cold, dark place, homemade vehicle wax will usually last six months to a year.
Will homemade vehicle wax work on any kind of paint job?
Indeed, you may safely use homemade vehicle wax on matte and clear coat paint finishes alike.
Will homemade vehicle wax offer the same level of protection as store-bought wax?
When used properly, homemade vehicle wax can offer a similar level of shine and protection to those sold in stores.
Is it possible to tint homemade auto wax?
Yes, you can alter the color of your own wax by adding food coloring or specialty dyes.
How often should I use homemade wax to wax my car?
We advise waxing your car with homemade wax every two to three months, or more frequently depending on usage and environmental factors, for the best protection and shine.